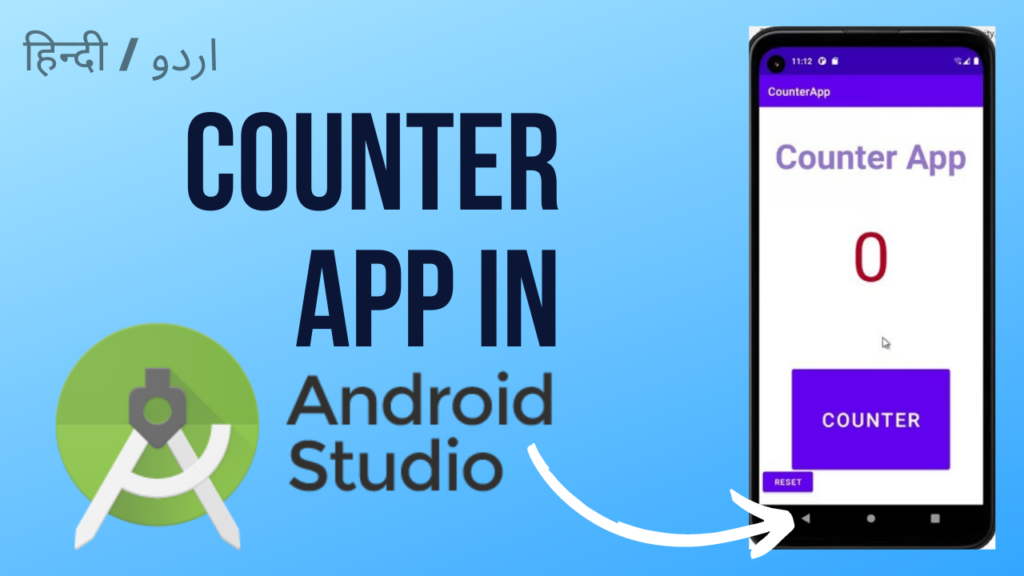
Learn step-by-step how to create a simple Counter App using Android Studio. This comprehensive guide includes setup, coding, and UI design with FAQs. Perfect for beginners looking to build their first Android application!
Creating a Counter App in Android Studio is an excellent way to start your journey in Android development. With this step-by-step guide, you’ll learn how to set up Android Studio, design the interface, and write the code necessary to make a functional counter app. Let’s dive in!
Introduction
In this guide, you’ll create a simple but effective counter app. This app is ideal for beginners, as it covers the basics of Android development, including UI layout, button functionality, and logic implementation.
Prerequisites
Before you start, make sure you have:
- A basic understanding of Java or Kotlin (our example will use Java).
- Android Studio installed on your computer.
- Knowledge of Android’s fundamental components.
Setting Up Android Studio
If you haven’t already, you’ll need to install Android Studio. Follow these steps to set up the environment:
- Download Android Studio: Head to the Android Studio website and download the latest version.
- Install SDK Tools: Android Studio will guide you through the necessary SDK installations.
- Configure Settings: Follow the setup wizard to configure settings, such as theme and SDK preferences.
Creating a New Android Project
To start, create a new project in Android Studio:
- Open Android Studio: Launch the application and select New Project.
- Select Project Template: Choose the “Empty Activity” template. This basic template provides the MainActivity.java file and an XML layout file, which is all we need for a counter app.
- Name the Project: Give your project a name, such as “CounterApp,” and select the appropriate language and minimum API level.
Understanding the Counter App
Our Counter App will have a simple interface with:
- A TextView to display the count.
- Two buttons: one for incrementing and one for decrementing the count.
- A reset button to set the count back to zero.
Key Features
- Increment and Decrement: Users can increase or decrease the count with buttons.
- Reset Functionality: The count can be reset to zero at any time.

Designing the UI
In this section, you’ll use XML to design the user interface.
Step 1: Open the activity_main.xml file
The activity_main.xml file is where you’ll define your layout components.
<LinearLayout
    xmlns:android="http://schemas.android.com/apk/res/android"
    android:layout_width="match_parent"
    android:layout_height="match_parent"
    android:orientation="vertical"
    android:gravity="center"
    android:padding="16dp">

    <!-- TextView for displaying the count -->
    <TextView
        android:id="@+id/countText"
        android:layout_width="wrap_content"
        android:layout_height="wrap_content"
        android:text="0"
        android:textSize="48sp"
        android:textColor="#000000"
        android:layout_gravity="center_horizontal"/>

    <!-- Button to increase the count -->
    <Button
        android:id="@+id/incrementButton"
        android:layout_width="wrap_content"
        android:layout_height="wrap_content"
        android:text="Increment"
        android:layout_marginTop="20dp"/>

    <!-- Button to decrease the count -->
    <Button
        android:id="@+id/decrementButton"
        android:layout_width="wrap_content"
        android:layout_height="wrap_content"
        android:text="Decrement"
        android:layout_marginTop="20dp"/>

    <!-- Button to reset the count -->
    <Button
        android:id="@+id/resetButton"
        android:layout_width="wrap_content"
        android:layout_height="wrap_content"
        android:text="Reset"
        android:layout_marginTop="20dp"/>
</LinearLayout>
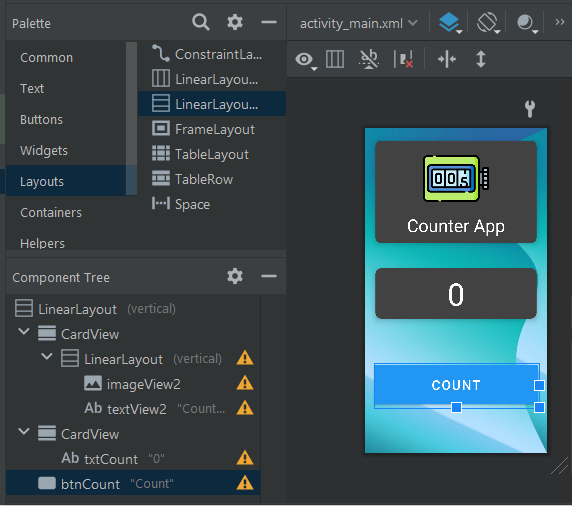
Step 2: Review the Layout Design
Check the design preview to ensure your layout appears as expected. Adjustments may be necessary to achieve a visually balanced interface.
Coding the Counter Logic
Next, add logic to the buttons in MainActivity.java to control the count.
Step 1: Define Variables
In MainActivity.java, declare and initialize variables for the TextView and count.
public class MainActivity extends AppCompatActivity {
    private int count = 0;
    private TextView countText;

    @Override
    protected void onCreate(Bundle savedInstanceState) {
        super.onCreate(savedInstanceState);
        setContentView(R.layout.activity_main);

        // Initialize views
        countText = findViewById(R.id.countText);
        Button incrementButton = findViewById(R.id.incrementButton);
        Button decrementButton = findViewById(R.id.decrementButton);
        Button resetButton = findViewById(R.id.resetButton);
Step 2: Set Button Click Listeners
Add click listeners for each button to modify the count accordingly.
   // Increment button listener
        incrementButton.setOnClickListener(view -> {
            count++;
            updateCountDisplay();
        });

        // Decrement button listener
        decrementButton.setOnClickListener(view -> {
            if (count > 0) {
                count--;
            }
            updateCountDisplay();
        });

        // Reset button listener
        resetButton.setOnClickListener(view -> {
            count = 0;
            updateCountDisplay();
        });
    }

    // Method to update the TextView
    private void updateCountDisplay() {
        countText.setText(String.valueOf(count));
    }
}
Testing the App
Now, it’s time to test the app to make sure everything works correctly. You can do this using an emulator or a physical device.
- Run the App on an Emulator: In Android Studio, click the “Run” button to launch the app on an emulator.
- Check the Functionality: Test each button to ensure it increments, decrements, and resets the count correctly.
Adding Advanced Features
To enhance the app, consider these additional features:
- Save Count Value: Use
SharedPreferencesto save the count even if the app closes. - Add Vibrations or Sound: Provide haptic feedback when users press buttons.
- Add Color Transitions: Highlight the count display with color changes for a more interactive experience.
Implementing SharedPreferences
SharedPreferences sharedPreferences = getSharedPreferences("CounterAppPrefs", MODE_PRIVATE);
SharedPreferences.Editor editor = sharedPreferences.edit();

// Saving the count
editor.putInt("count", count);
editor.apply();

// Retrieving the count on app restart
count = sharedPreferences.getInt("count", 0);
updateCountDisplay();
FAQs
What is Android Studio?
Android Studio is Google’s official IDE for developing Android applications. It includes everything you need to build Android apps, from code editing to app deployment.
Can I use Kotlin instead of Java?
Yes, Kotlin is the preferred language for Android development. However, this guide uses Java, as it is still widely used and beginner-friendly.
How do I reset the count when the app is closed?
You can implement SharedPreferences to store the count value and retrieve it when the app restarts.
Why isn’t my app running?
Ensure your emulator is correctly set up and that your device drivers are updated if you’re testing on a physical device.
With this guide, you have a solid foundation to create a Counter App in Android Studio. This project is a fantastic starting point to explore Android app development and can be easily expanded to add more features. Good luck, and happy coding!


