Create a platform jumper game in Unity step-by-step. Learn how to design platforms, apply materials, and add player controls to bring your game to life. Perfect for beginners and aspiring developers.
Introduction to Unity Game Development
Unity is one of the most popular game development engines for creating 2D and 3D games. If you are new to game development, starting with a platform jumper game is an excellent way to learn the basics. This tutorial will guide you through every step to develop a simple platform jumper game in Unity, from creating basic platform prefabs to adding player controls and interactivity. Whether you are a beginner or someone looking to enhance your Unity skills, this guide will help you develop a functional and fun game.
- Prerequisites
- Step 1: Create the Basic Platform Prefab in Unity
- Step 2: Apply Materials to the Objects in Unity
- Step 3: Parent the Objects and Create Prefab in Unity
- Step 4: Add a Player Capsule in Unity
- Step 5: Add Player Controls and Jumping Mechanics in C#
- Step 6: Test the Game View in Unity
- Step 7: Rename and Add Components to the Player
- Step 8: Add Jump Controls to the Player
- Testing Your Game in Unity
- Alternate Player Jump Script Code in C#
- Final Steps for Better Control
- Advanced Features to Enhance Gameplay
- FAQs
- Conclusion
Prerequisites
Before diving in, ensure you have the following:
- Unity Editor installed (preferably the latest version).
- Basic understanding of Unity’s interface and navigation.
- A computer with sufficient resources to run Unity smoothly.
- Optional: Basic knowledge of C# for scripting.
Step 1: Create the Basic Platform Prefab in Unity
The first step in building your platform jumper game is creating a reusable platform. A prefab simplifies the process of adding multiple platforms to your game.
a. Create Two Simple Cube Game Objects
- Open Unity and create a new 3D project.
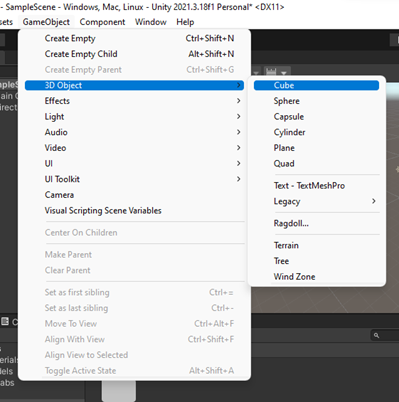
- In the Hierarchy Panel, right-click and select 3D Object > Cube to add a cube.
- Rename this cube to “Base.”
- Repeat the process to create another cube and name it “Top.”
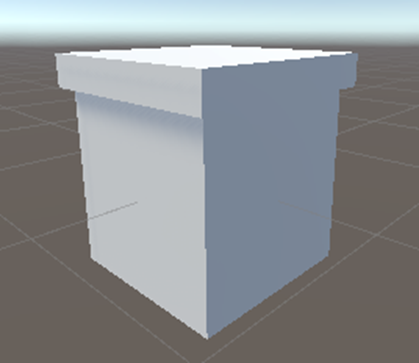
b. Arrange the Cubes to Form a Platform
- Position the Top cube above the Base cube by adjusting its Y-axis value in the Transform Component in the Inspector Panel.
- Ensure the Top cube is aligned centrally above the Base cube for a neat appearance.
Step 2: Apply Materials to the Objects in Unity
Materials give your objects color and texture, making your game visually appealing.
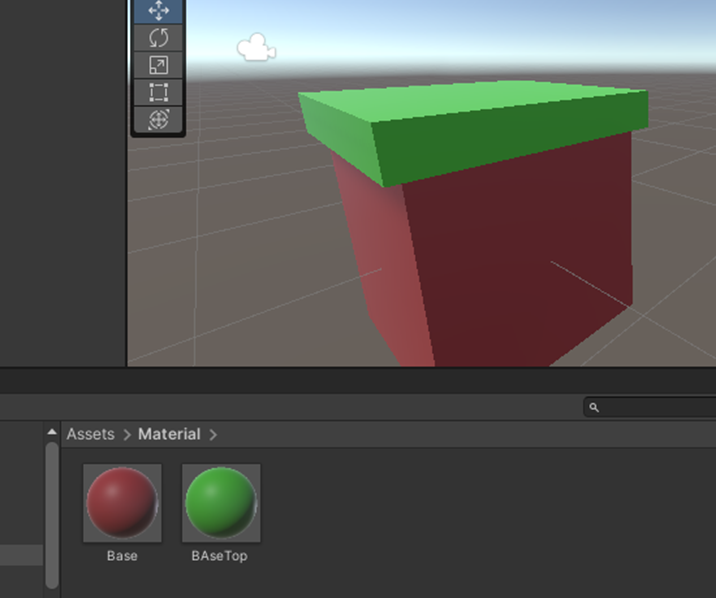
- In the Assets Panel, right-click and create a new folder named Materials.
- Right-click inside the folder and select Create > Material to create two materials.
- Name the materials “BaseMaterial” and “TopMaterial.”
- Customize each material by selecting a color or texture.
- Drag and drop BaseMaterial onto the Base cube and TopMaterial onto the Top cube.
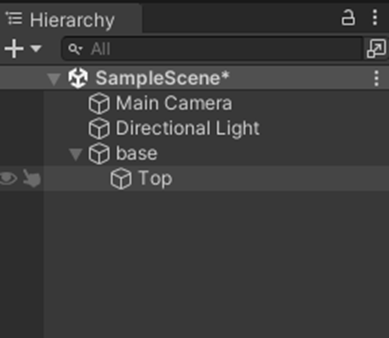
Step 3: Parent the Objects and Create Prefab in Unity
- In the Hierarchy Panel, drag the Top cube onto the Base cube to make it a child.
- Select the Base object (with its child), and drag it into the Assets Panel to create a prefab.
- Name the prefab “PlatformPrefab.”
This prefab allows you to reuse the platform across your game without recreating it each time.
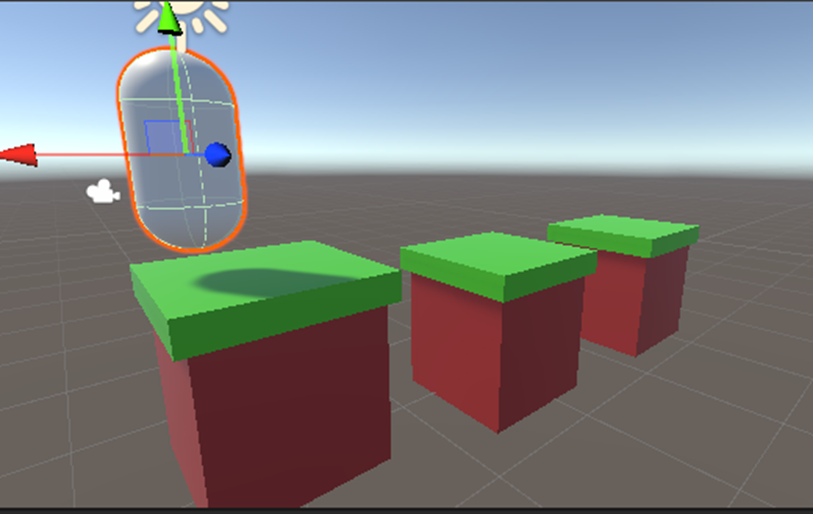
Step 4: Add a Player Capsule in Unity
To introduce a player character:
- In the Hierarchy Panel, right-click and select 3D Object > Capsule to create a capsule.
- Position the capsule above the first platform by adjusting its Y-axis value.
- Scale the capsule to a suitable size to represent your player.
- Rename the capsule to “Player” in the Inspector Panel.
Step 5: Add Player Controls and Jumping Mechanics in C#
To make your player interactive, you need to add a control script.
- Select the Player object in the Hierarchy Panel.
- In the Inspector Panel, click Add Component > New Script and name it “PlayerControl.”
- Open the script in your preferred editor and add the following code:
using UnityEngine;

public class PlayerControl : MonoBehaviour
{
    public float jumpForce = 5f;
    private Rigidbody rb;

    void Start()
    {
        rb = GetComponent<Rigidbody>();
    }

    void Update()
    {
        if (Input.GetKeyDown(KeyCode.Space))
        {
            rb.AddForce(Vector3.up * jumpForce, ForceMode.Impulse);
        }
    }
}- Save the script and return to Unity.
- Attach a Rigidbody component to the Player object from the Inspector Panel to enable physics.
Step 6: Test the Game View in Unity
After creating the player object and setting up the basic mechanics, it’s essential to test how the game looks and functions so far.
- Go to the Game Tab in Unity’s interface.
- Click the Play button at the top of the Unity Editor.
- Observe the Player (Capsule) on the first platform. Ensure the object is correctly positioned and visible in the game view.
- Use the arrow keys or WASD (if movement is implemented) to move around and check for alignment issues.
- Press the Spacebar to test the jumping functionality. If the capsule jumps as expected, you’ve successfully implemented this step!
If you encounter issues (like the player falling off the platform), verify the following:
- The Player has a Rigidbody component attached.
- The platforms have a Box Collider to ensure collisions work.

Step 7: Rename and Add Components to the Player
Organizing and enhancing the player object is critical for a polished experience.
- Select the Capsule object in the Hierarchy Panel.
- Rename it to Player for better clarity.
- With the Player selected, go to the Inspector Panel and click Add Component.
- Add components as needed:
- PlayerControl Script (if not already added).
- Audio Source (optional) to play sound effects for jumping or landing.
- Configure the Rigidbody properties:
- Ensure Gravity is enabled.
- Set the Mass to an appropriate value, such as 1, to achieve realistic movement.
This step ensures that your Player object is ready for advanced interaction.
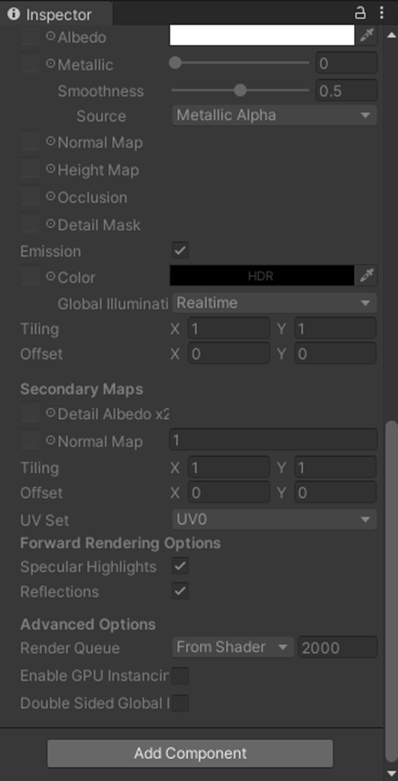
While the Capsule is Selected, in Inspector, Rename it to “Player”. Then scroll down in inspector and click on “Add Component”. From the Dialog box, type “rigid” and select the rigid body collider.

Now, in Game tab, play the game and see the capsule behavior. It should fall on the platform.
Step 8: Add Jump Controls to the Player
Now that the player has basic movement, it’s time to enhance gameplay by implementing jump controls.
Write the Jump Script
Time to Add the player control to the capsule and give Jump control.
- Create a New Script Player, under the scripts folder.
- Drag and Drop the New Script on the Player Capsule in Scene or in Hierarchy.
- Write the following code in the script.
Ensure the PlayerControl script includes a method for handling jumping. If you already added the script in Step 5, modify it as follows:
using UnityEngine;

public class PlayerControl : MonoBehaviour
{
    public float jumpForce = 7f;
    private Rigidbody rb;
    private bool isGrounded;

    void Start()
    {
        rb = GetComponent<Rigidbody>();
    }

    void Update()
    {
        if (Input.GetKeyDown(KeyCode.Space) && isGrounded)
        {
            rb.AddForce(Vector3.up * jumpForce, ForceMode.Impulse);
            isGrounded = false;
        }
    }

    void OnCollisionEnter(Collision collision)
    {
        if (collision.gameObject.CompareTag("Platform"))
        {
            isGrounded = true;
        }
    }
}
Steps to Implement Jump Controls
- Tag each platform in the Inspector Panel as Platform.
- Select a platform in the Hierarchy Panel.
- In the Inspector, add a new Tag called “Platform” and assign it to the platform objects.
- Ensure the Rigidbody’s Constraints are set to prevent unintended rotations:
- Check Freeze Rotation for X and Z axes in the Inspector Panel.
Test the Jump Functionality
- Go to the Game Tab and click Play.
- Press the Spacebar to make the capsule jump.
- Land on the platforms to verify that the jumping mechanic resets properly.
Testing Your Game in Unity
- In Unity, go to the Game Tab and click Play to test your game.
- Use the Spacebar to make your player jump between platforms.
- Adjust the Jump Force variable in the Inspector Panel to fine-tune the jumping height.
Alternate Player Jump Script Code in C#
Here is another version of the Jump Player Code. This is similar to above but with some additional features. It takes the keypress event and changes the horizontal force , making the player jump upwards.
public class Player:MonoBehaviour
{

private bool jumpKeyPressed;
private float horizontalInput;
private Rigidbody rigidbodyComponent;
//to check the player is on ground
private bool isGrounded;

void Start(){
	rigidbodyComponent = GetComponent<Rigidbody>();
}

//called every frame
void Update()
{
	// Check if Space key is pressed Down
	if(Input.GetKeyDown(KeyCode.Space)==true){
		//Debug.log("Space Key was pressed Down");
		jumpKeyPressed=true;
	}

	horizontalInput = Input.GetAxis("Horizontal");

}

//Once Called every time physics engine is updated
private void FixedUpdate(){

	//add later to avoid air jumps
	if(isGrounded != true){
		return;
	}

	if(jumpKeyPressed == true){
	rigidbodyComponent.AddForce(Vector3.up * 5, ForceMode.VelocityChange);
	jumpKeyPressed=false;
	}

	//GetComponent<RigidBody>().velocity=new Vector3(horizontalInput, 0,0);
	rigidbodyComponent.velocity=new Vector3(horizontalInput, rigidbodyComponent.velocity.y,0);
}

private void OnCollisionEnter(Collision collision){
	isGrounded = true;
}
private void OnCollisionExit(Collision collision){
	isGrounded = false;
}
}//end of class
Final Steps for Better Control
Now you need to make the contorl of the palyer better so that it does not rotate in all Axis. To ensure that we need to freeze it x,y, and z axis rotation values. to do that
- Goto to Inspector of the Player/ In RigidBody –> Constraints Tab
2. Freze Rotations x,y,z, (check on)
Next you also need to freeze the position-z value so that the player does not move sideways, and only is able to go forward and back and Up. To freeze the sideway movement,
3. Freze the Position-Z. so it moves in straight line.
Advanced Features to Enhance Gameplay
Once the basic mechanics are complete, you can enhance your game with additional features:
1. Dynamic Platforms
- Add movement to the platforms by writing a script that makes them oscillate.
2. Scoring System
- Implement a scoring system to track how many platforms the player has jumped.
3. Sound Effects
- Add sound effects for jumping, landing, and falling to make the game more engaging.
4. Background and Environment
- Create a visually appealing background using Unity’s lighting and skybox features.
FAQs
1. Can I use Unity for 2D games?
Yes, Unity supports both 2D and 3D game development. For a platform jumper game, you can use either approach.
2. How do I create a prefab in Unity?
To create a prefab, select an object in the Hierarchy Panel and drag it into the Assets Panel.
3. Do I need coding skills to develop games in Unity?
Basic knowledge of C# is helpful for scripting in Unity, but you can use visual scripting tools like Bolt if you prefer a no-code approach.
4. How can I make my game more engaging?
You can add new mechanics, customize the visuals, and introduce challenges like moving platforms or timers.
Conclusion
Developing a simple platform jumper game in Unity is an exciting and rewarding project for beginners. By following this step-by-step guide, you’ll not only learn the basics of Unity but also build a functional game. With further exploration, you can enhance your game with advanced features and create a truly unique experience.
Happy coding! 🎮